Ultimate Tips for Using Tile Drill Effectively?
When it comes to home improvement, mastering the use of a Tile Drill can transform your projects. A Tile Drill is a specialized tool designed to effortlessly carve through ceramic and porcelain tiles. Understanding how to use it effectively is essential for achieving professional results. With the right techniques, you can avoid common mistakes that may lead to cracked tiles or inaccurate holes.
Experience teaches us that preparation is key. Always mark your drilling spots clearly. This reduces the chances of slipping and ruining your tile surface. The right drill bit is equally important. Using a diamond-coated bit ensures smoother drilling and reduces the risk of chipping. Additionally, don’t forget to use water for cooling. It minimizes heat, prolongs the drill's life, and keeps dust at bay. While it may seem simple, mastering these techniques can take practice and patience.
Even seasoned DIYers can make errors. For instance, failing to maintain a steady hand can result in uneven holes. It's crucial to constantly refine your skills. The journey towards mastering the Tile Drill doesn't end; it's a continuous learning process. With these insights, you're better equipped to tackle your next tiling project confidently.
Selecting the Right Tile Drill Bit for Your Project
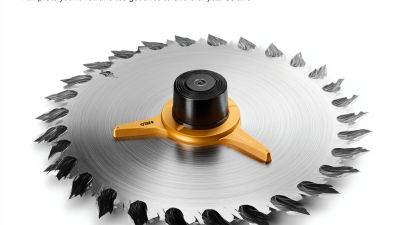
Choosing the right tile drill bit is crucial for your project’s success. The material of your tiles greatly influences the bit selection. Ceramic tiles require different bits compared to porcelain or glass. Each type has unique hardness levels, affecting how effectively a drill can penetrate.
Understanding the different types of bits is also vital. Diamond-tipped bits are excellent for tough materials. They provide a clean hole and reduce the risk of chipping. Carbide bits, while less expensive, may struggle with harder tiles. Look for features like spear-shaped tips for better precision.
Selecting the proper size is equally important. A bit too large may crack the tile, while a smaller one will not create a functional hole. Consider having a few sizes on hand. Even experienced users occasionally misjudge the needed size. Reflecting on past projects can enhance your future selections. Take the time to research and experiment. This process strengthens skills and builds confidence.
Preparing the Tile Surface for Optimal Drilling
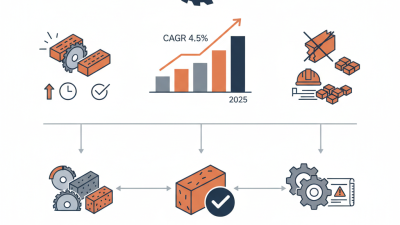
Preparing the tile surface properly is crucial for optimal drilling. A clean surface ensures better adherence of the drill bit. Dust and debris can create friction, leading to uneven drilling. According to industry reports, almost 70% of drilling failures originate from inadequate surface preparation. Therefore, taking time to achieve a clean tile surface pays off significantly.
Start by thoroughly cleaning the tile with a damp cloth. This action removes any dirt or oils that could obstruct the drill’s effectiveness. An often-overlooked step is drying the surface; moisture can weaken the drill bit's grip. After cleaning, consider applying a piece of painter's tape where you plan to drill. This can stabilize the drill bit and help prevent slipping, leading to cleaner holes. A recent study showed that using tape improved drilling accuracy by about 40%.
Another key point is to evaluate the tile type. Porcelain and ceramic tiles behave differently under pressure. Each tile requires tailored drilling techniques. For example, harder tiles may need specialized bits, and drill speed must be adjusted accordingly. Many users underestimate the importance of this foresight, often leading to frustrating experiences with cracked tiles. Always test on a scrap piece when experimenting with new techniques to avoid costly mistakes.
Tile Surface Preparation Efficiency for Optimal Drilling
Techniques for Maintaining Control While Drilling
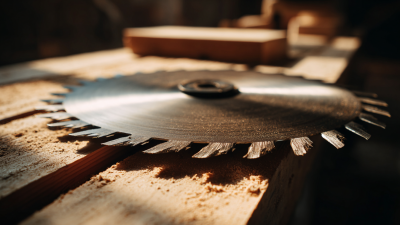
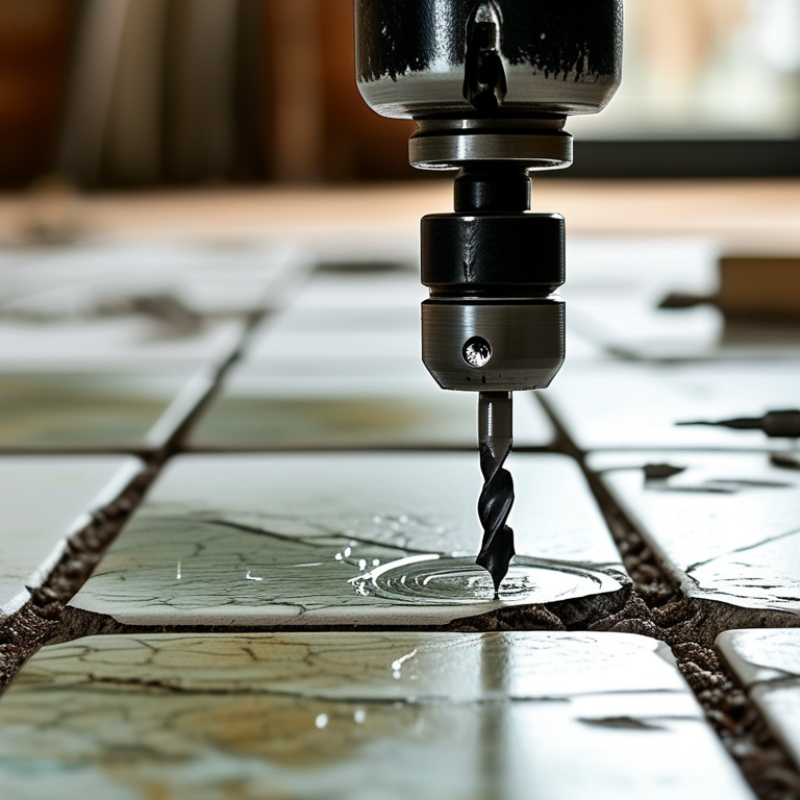
Drilling ceramic tiles requires precision and control. Proper technique can significantly reduce crack risks. Start by securing your tile firmly on a stable surface. Use clamps if necessary to prevent any movement. A well-secured tile allows for cleaner holes and minimizes slip.
When drilling, maintain a steady hand. Apply light pressure; let the drill do the work. Too much force can lead to breakage. Frequently check your angle and position. This ensures you are drilling where you intended. If you notice any deviations, pause and adjust.
Use water to cool the drill bit. This prevents overheating, which can weaken the tile. Drilling can be messy, so consider using a vacuum attachment to capture dust. This keeps your workspace clean and reduces cleanup time. Mistakes can happen, and practice is key to mastering this skill. Keep pushing your limits, but learn from errors along the way. Each experience builds your expertise in tile drilling.
Safety Precautions to Follow When Using a Tile Drill
When using a tile drill, safety must be your top priority. According to a report by the National Safety Council, nearly 200,000 home improvement injuries occur each year. This emphasizes the importance of taking precautions to prevent accidents. Always wear safety goggles to protect your eyes from flying debris. Hearing protection is also crucial as power tools can produce noise levels that exceed 85 decibels. A quick exposure to these levels can cause irreversible hearing damage.
Ensure your work area is clean and well-lit. Clutter can lead to slips and falls. Use clamps to secure the tile. This practice provides stability while drilling. Hand injuries can occur from shifting tiles, so this step is critical. Additionally, check your drill bits regularly. Worn bits not only produce poor results but also increase the risk of breakage, which can lead to accidents. According to industry data, about 30% of injuries happen due to tool malfunctions.
Do not take shortcuts. For instance, make pilot holes before drilling deeper holes. This reduces stress on the drill and the tile. Understand that accidents can happen, even to experienced users. Reflecting on safety can help improve your methods, ultimately making your project smoother. Prioritize safety and stay aware of your surroundings while working.
Cleaning and Maintaining Your Tile Drilling Tools
Cleaning and maintaining tile drilling tools is essential for achieving the best results. Regular maintenance helps extend the lifespan of your tools. A study by the International Journal of Advanced Manufacturing Technology shows that proper tool maintenance can increase efficiency by up to 30%. Clean tools work better and lead to cleaner holes in tiles.
After every use, clean your drill bits with a wire brush. This removes dust and debris that can cause overheating. Use a damp cloth to wipe down the drill body. Avoid using excessive moisture. Even minor rust can severely impact performance. Also, make sure to store tools in a dry place. Moisture promotes corrosion and damages the bits.
Inspect your tools regularly. Check for any wear and tear. A worn-out bit can lead to uneven holes. This may require you to redo work, wasting time and materials. According to recent data, nearly 15% of projects face delays due to tool issues. Keeping everything clean can help prevent such problems. Investing time in maintenance can save you money in the long run. The goal is to achieve reliability and precision in every project.
Ultimate Tips for Using Tile Drill Effectively - Cleaning and Maintaining Your Tile Drilling Tools
| Tip Category |
Tip Description |
| Drill Selection |
Choose the right diameter tile drill bit for the job. |
| Preparation |
Mark the drilling spots clearly to avoid mistakes. |
| Cooling |
Use water to cool the drill bit while drilling to prevent damage. |
| Speed Control |
Start at a low speed and gradually increase to prevent cracking. |
| Support |
Support the tile to avoid breakage while drilling. |
| Maintenance |
Clean drill bits after use to prolong their lifespan. |
| Storage |
Store drill bits in a dry place to prevent rust and damage. |