Mastering the Art of Wood Finishing: Essential Tips for Using a Drum Sander
In the realm of woodworking, achieving a flawless finish is paramount, and mastering the art of wood finishing involves understanding the indispensable tools that facilitate this process. Among these, the Drum Sander stands out as a vital piece of equipment, enabling woodworkers to efficiently smooth and prepare surfaces for final treatment. According to the latest industry reports, the global woodworking machinery market, including drum sanders, is projected to reach $12 billion by 2026, driven by the increasing demand for high-quality finishes in both commercial and DIY projects. This highlights not only the popularity of drum sanders but also their role in elevating craftsmanship across various applications. Embracing the techniques and tips associated with effectively using a drum sander can significantly impact the overall quality of wood finishing, empowering woodworkers to achieve professional results with their projects.
Understanding the Role of a Drum Sander in Wood Finishing
A drum sander is a critical tool in the wood finishing process, providing smooth, even surfaces that are essential for high-quality results. According to a report by the Woodworking Machinery Industry Association, the use of drum sanders has increased by over 30% in the last five years among professional woodworkers, reflecting their significant role in achieving precise finishes. These machines excel in versatility, allowing users to manage different grit levels, which is crucial for preparing wood surfaces before applying stains or sealants.
Furthermore, the efficiency of a drum sander can dramatically reduce production time. Research from the Association of Woodworking Professionals indicates that utilizing a drum sander can cut finishing time by nearly 50% compared to traditional methods. This time-saving capability makes it an invaluable asset for both commercial operations and serious hobbyists. By understanding the role of a drum sander in wood finishing, woodworkers can enhance their skills and achieve exceptional results, ensuring that every project stands out.
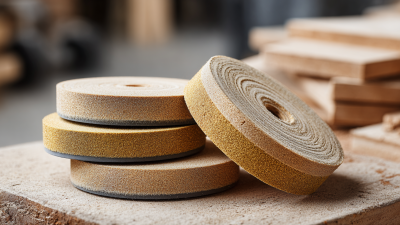
Choosing the Right Grit: A Guide to Sandpaper Selection
Choosing the right grit of sandpaper is crucial when using a drum sander for wood finishing, as it directly impacts the quality of the final surface. Sandpaper typically ranges from 24 grit, which is very coarse, to 600 grit, which is ultra-fine. According to the Woodworking Industry Association, using the appropriate grit can reduce sanding time by up to 30% and improve adhesion for finishes, resulting in a smoother, more professional appearance.
For initial sanding, a coarser grit, such as 60 or 80, is recommended to quickly remove material and smooth out rough surfaces. Once you have achieved the desired profile, it's important to gradually progress to finer grits—generally moving up from 120 to 220 grit. This two-step process aligns with studies from the Forest Products Laboratory, which suggest that a gradual grit progression minimizes scratches and allows for a better bond with applied finishes. By selecting the right grit for each stage of the sanding process, you can ensure a flawless finish that enhances the natural beauty of the wood.
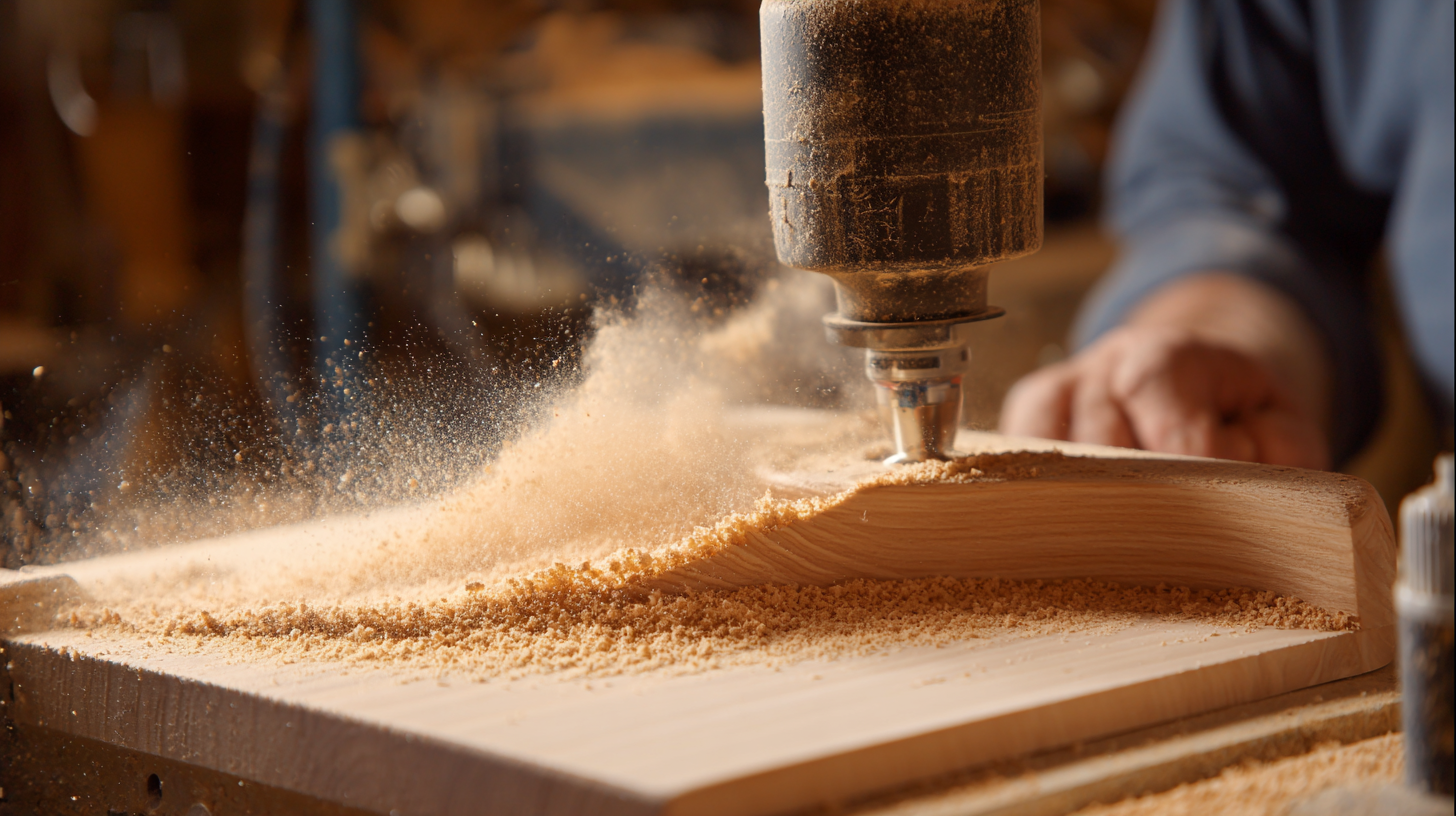
Techniques for Effective Drum Sanding: Tips and Tricks
When it comes to achieving a flawless wood finish, mastering the art of drum sanding is crucial. According to a report by the Woodworking Machinery Manufacturers Association, over 60% of professional woodworkers prefer using drum sanders for large surfaces due to their efficiency and precision. To ensure effective drum sanding, it’s important to choose the right grit sandpaper. Starting with a coarser grit, such as 80 or 100, allows for the removal of material quickly, while gradually moving to finer grits, like 220 or 320, helps achieve a smooth surface ready for finishing.
Another key technique involves maintaining the right drum pressure and avoiding excessive contact time on any one area. Industry experts recommend adjusting the drum’s downforce based on the wood type; for instance, softer woods require less pressure to avoid gouging. Additionally, consistently moving the sander at a uniform speed across the surface reduces the risk of uneven sanding lines, ensuring a perfect finish. Regularly checking the drum’s alignment and replacing worn sandpaper can further enhance performance, leading to a significantly improved end product. By applying these tips and tricks, woodworkers can elevate their sanding techniques and achieve professional-quality results.
Common Mistakes to Avoid When Using a Drum Sander
When using a drum sander for wood finishing, avoiding common mistakes can significantly impact the quality of your project. One frequent error is applying too much pressure on the sander, which can lead to uneven surfaces and premature wear on the sandpaper. According to a study by the Woodworking Machinery Industry Association, improper pressure can reduce the lifespan of sandpaper by up to 50%, resulting in increased costs and time spent on replacements. Instead, let the weight of the machine do the work, allowing for a smoother finish.
Another common pitfall is neglecting to properly monitor the drum's height settings. Many novice users fail to adjust the height according to the wood thickness, leading to inconsistent results. In fact, a report from Fine Woodworking Magazine highlights that an incorrect drum height can cause deep gouges or insufficient sanding, which can require extensive refinishing. To ensure a flawless finish, always calibrate the drum height for each project, providing a consistent sanding depth that preserves the integrity of the wood. By avoiding these mistakes, you can enhance your drum sanding technique and achieve a professional-quality finish.
Mastering the Art of Wood Finishing: Essential Tips for Using a Drum Sander
| Tip |
Description |
Common Mistake |
Consequence |
| Choose the Right Grit |
Start with a coarser grit and gradually move to finer grits for a smooth finish. |
Using too fine of a grit initially. |
Longer sanding time and uneven surface. |
| Keep the Sander Moving |
Always keep the sander moving to avoid high spots. |
Stopping in one place for too long. |
Burn marks and uneven areas. |
| Use Proper Vacuuming |
Vacuum regularly to minimize dust buildup. |
Neglecting to clean the sander and workspace. |
Increased dust hazards and poor finishing results. |
| Check for Blemishes |
Inspect the wood surface for scratches and defects before finishing. |
Failing to examine the surface. |
Inherited defects become visible after finishing. |
| Maintain Consistent Pressure |
Apply even pressure to avoid uneven sanding. |
Applying too much or too little pressure in different areas. |
An uneven finish that requires additional sanding. |
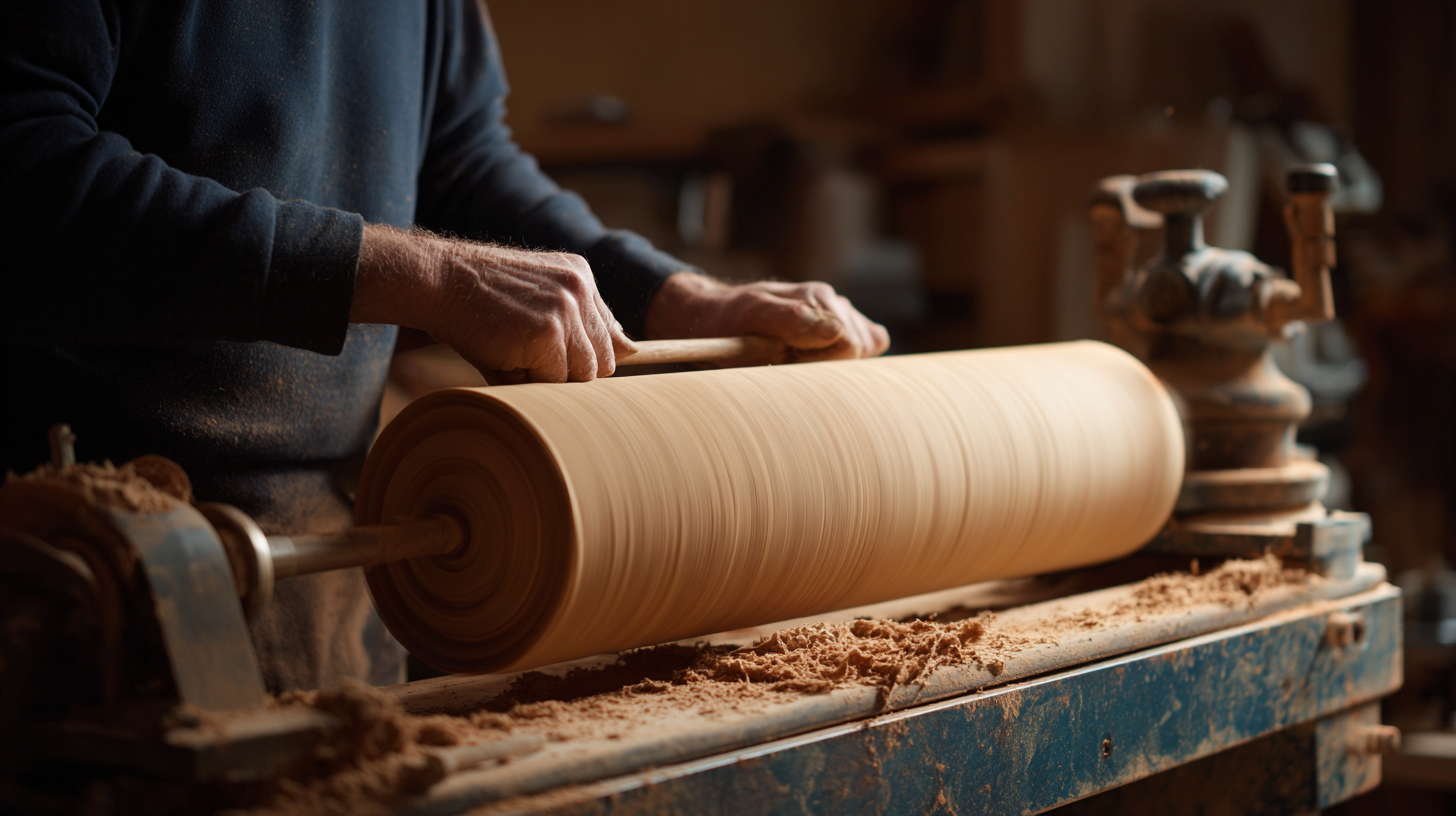
Maintaining Your Drum Sander for Optimal Performance
 Maintaining your drum sander is crucial for ensuring optimal performance and longevity. Regular maintenance not only helps in achieving smoother finishes but also enhances the efficiency of your woodworking projects. Here are some essential tips to keep your drum sander in top shape.
Firstly, always begin by inspecting the sanding drum for wear and tear. A worn drum can lead to uneven sanding results. Replace the drum or the sanding belt as needed, ensuring you use the appropriate grit for the task at hand. Additionally, keep the machine clean. Wood dust can accumulate and affect the motor’s performance. Use a vacuum or a blower to remove dust from the machine's components after each use.
Another tip is to periodically check and adjust the drum’s tension. Proper tension ensures even contact with the workpiece, leading to a better finish. Also, consider investing in a dust collection system to minimize airborne dust and maintain a cleaner workspace. A well-maintained drum sander, coupled with effective dust management, can significantly enhance your woodworking experience.